Hosting a Static Website on Amazon S3 – Step by Step Guide

I am a cloud enthusiast with expertise in designing scalable and secure cloud solutions. I have hands-on experience in Docker for efficient containerization and application deployment. Passionate about simplifying complex technologies, I share my knowledge through informative blogs to inspire and educate others in the tech community.
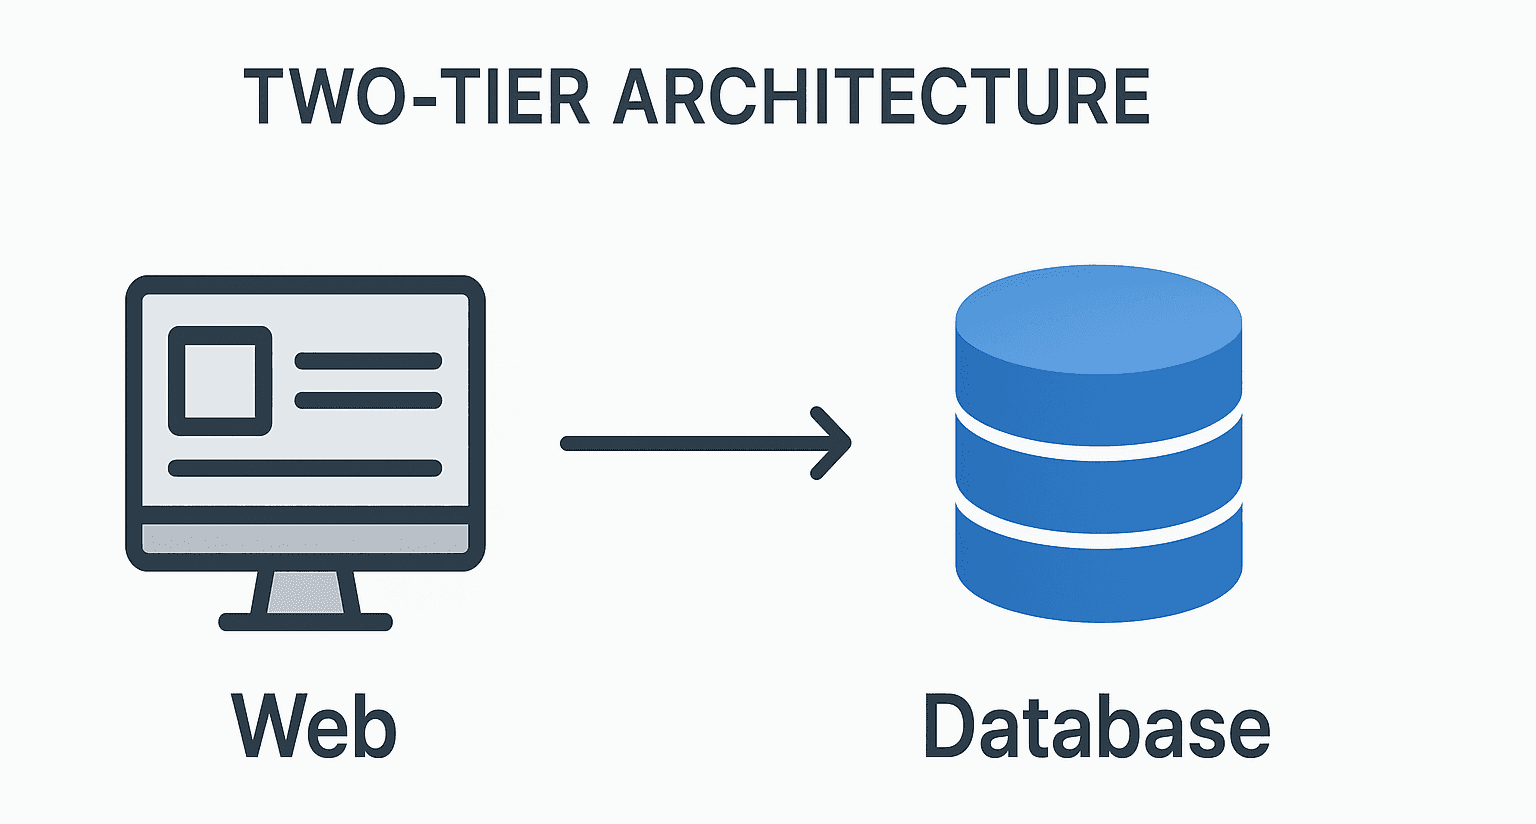
In this guide, I’ll show you how to host a static website on Amazon S3. A static website is a website with fixed content like HTML, CSS, and images. There’s no backend server or database needed, so it’s simple, fast, and cost-effective.
What is Amazon S3?
Amazon S3 (Simple Storage Service) is a cloud-based storage service provided by AWS that allows you to store and retrieve any amount of data at any time. It is highly durable, secure, and scalable, making it ideal for storing files such as images, videos, documents, or entire websites. S3 provides features like access control, versioning, and cost-efficient storage, allowing you to manage your data reliably without worrying about underlying infrastructure or server maintenance.
Hosting a static website on S3 is popular because it’s simple, serverless, and cost-effective. A static website consists of fixed content like HTML, CSS, and JavaScript files, which don’t require a backend server or database. By uploading these files to an S3 bucket and enabling static website hosting, S3 can serve your site directly to visitors. This approach provides high availability, automatic scalability, and a public URL for easy access, making it a perfect solution for portfolios, blogs, landing pages, and other simple web applications.
Objective
The goal is to host a static website by:
Creating an S3 bucket
Uploading website files
Enabling static website hosting
Setting permissions so anyone can access your site
A static website is one with fixed content like HTML, CSS, and images. There’s no backend or database involved, so it’s fast, secure, and cost-effective.
What You Need
An AWS account with administrative access
Basic HTML/CSS/JS files for your website
AWS CLI (optional, if you want to use commands instead of the AWS console)
Step 1: Log in and Create an S3 Bucket
Go to the AWS Management Console and log in using your IAM credentials.

Choose a region closest to you. This helps your website load faster.
In the search bar at the top, type S3 and click the Create bucket button.

Give your bucket a unique name. (Bucket names are global, so no two buckets anywhere in the world can have the same name.)

Leave all other settings as default.
Click Create bucket.

Now your empty S3 bucket is ready to store your website files.
Step 2: Upload Your Website Files

Your bucket is currently empty, so we need to add our website files. One way to upload our project to the bucket is by using the AWS Management Console, and another way is by using the AWS CLI. In this tutorial, we will use the AWS CLI to upload our files.
Steps:
Open your terminal or command prompt.
Navigate to your project folder:
cd \Downloads\2117_infinite_loopList your files to make sure you are in the right folder:
ls
Upload files to S3 using:
aws s3 sync . s3://pravinmishrademo01/
After uploading, you should see all your files in the S3 bucket.

Step 3: Enable Static Website Hosting
Click on your bucket → Go to Properties tab.
Scroll down to Static website hosting and click Edit.

Choose Enable.

This allows S3 to serve your website files as a real website.
Step 4: Set Index and Error Documents
Index document: This is your homepage (usually
index.html). When someone visits your website URL, this page will load automatically.Error document: This is shown when someone visits a page that doesn’t exist (like
404.html). It helps guide visitors back to your site.Enter
index.htmlfor the index document and leave the error document as default (or add404.htmlif you have one).Click Save changes.

S3 will now give you a website URL that you can use to visit your site.

When you try to visit the site using the bucket website endpoint, it gives an error because we have not set the bucket policy for website access and have not disabled Block Public Access.

Step 5: Make Your Website Public
By default, S3 blocks public access. Your site won’t be visible until you allow it.
Go to the Permissions tab in your bucket.
Click Block Public Access → Edit → Disable it → Save changes.

Add a Bucket Policy to allow everyone to read your files:
Go to Permissions → Bucket Policy → Edit.
Add this policy (replace
your-bucket-namewith your actual bucket name):{ "Version": "2012-10-17", "Statement": [ { "Sid": "PublicReadGetObject", "Effect": "Allow", "Principal": "*", "Action": "s3:GetObject", "Resource": [ "arn:aws:s3:::pravinmishrademo01/*" ] } ] }
Save the policy.

Now your website is live and publicly accessible using the URL from static website hosting.
Step 6: Test Your Website
Copy the URL from the Static Website Hosting section in S3.
Open it in a browser.
Your static website should load perfectly.

Conclusion
Hosting a static website on AWS S3 is easy and beginner-friendly. You don’t need a server or database. By following these steps, you can make your website live and accessible to anyone. This is perfect for portfolios, blogs, landing pages, or documentation websites.